First Setup
This guide walks you through the initial setup of your Smart Mirror — from powering it on to connecting it to Wi-Fi and completing the onboarding process.
1. Power On and Access the Admin Menu
- Plug in the Smart Mirror. It will boot automatically — please wait until the display is ready. The Display is ready when it displays the standard UI including a Date in the top left corner.
- To enter the admin menu, touch and hold the top-left corner of the screen for 6 seconds (100x100 pixel field).
- Wait for the device to reboot in the admin dashboard.
- When prompted, enter the default password: "changeme"
Keyboard and Language
- The virtual keyboard is enabled by default (find the keyboard settings in the top-right corner).
- You can change the input language in the same menu.
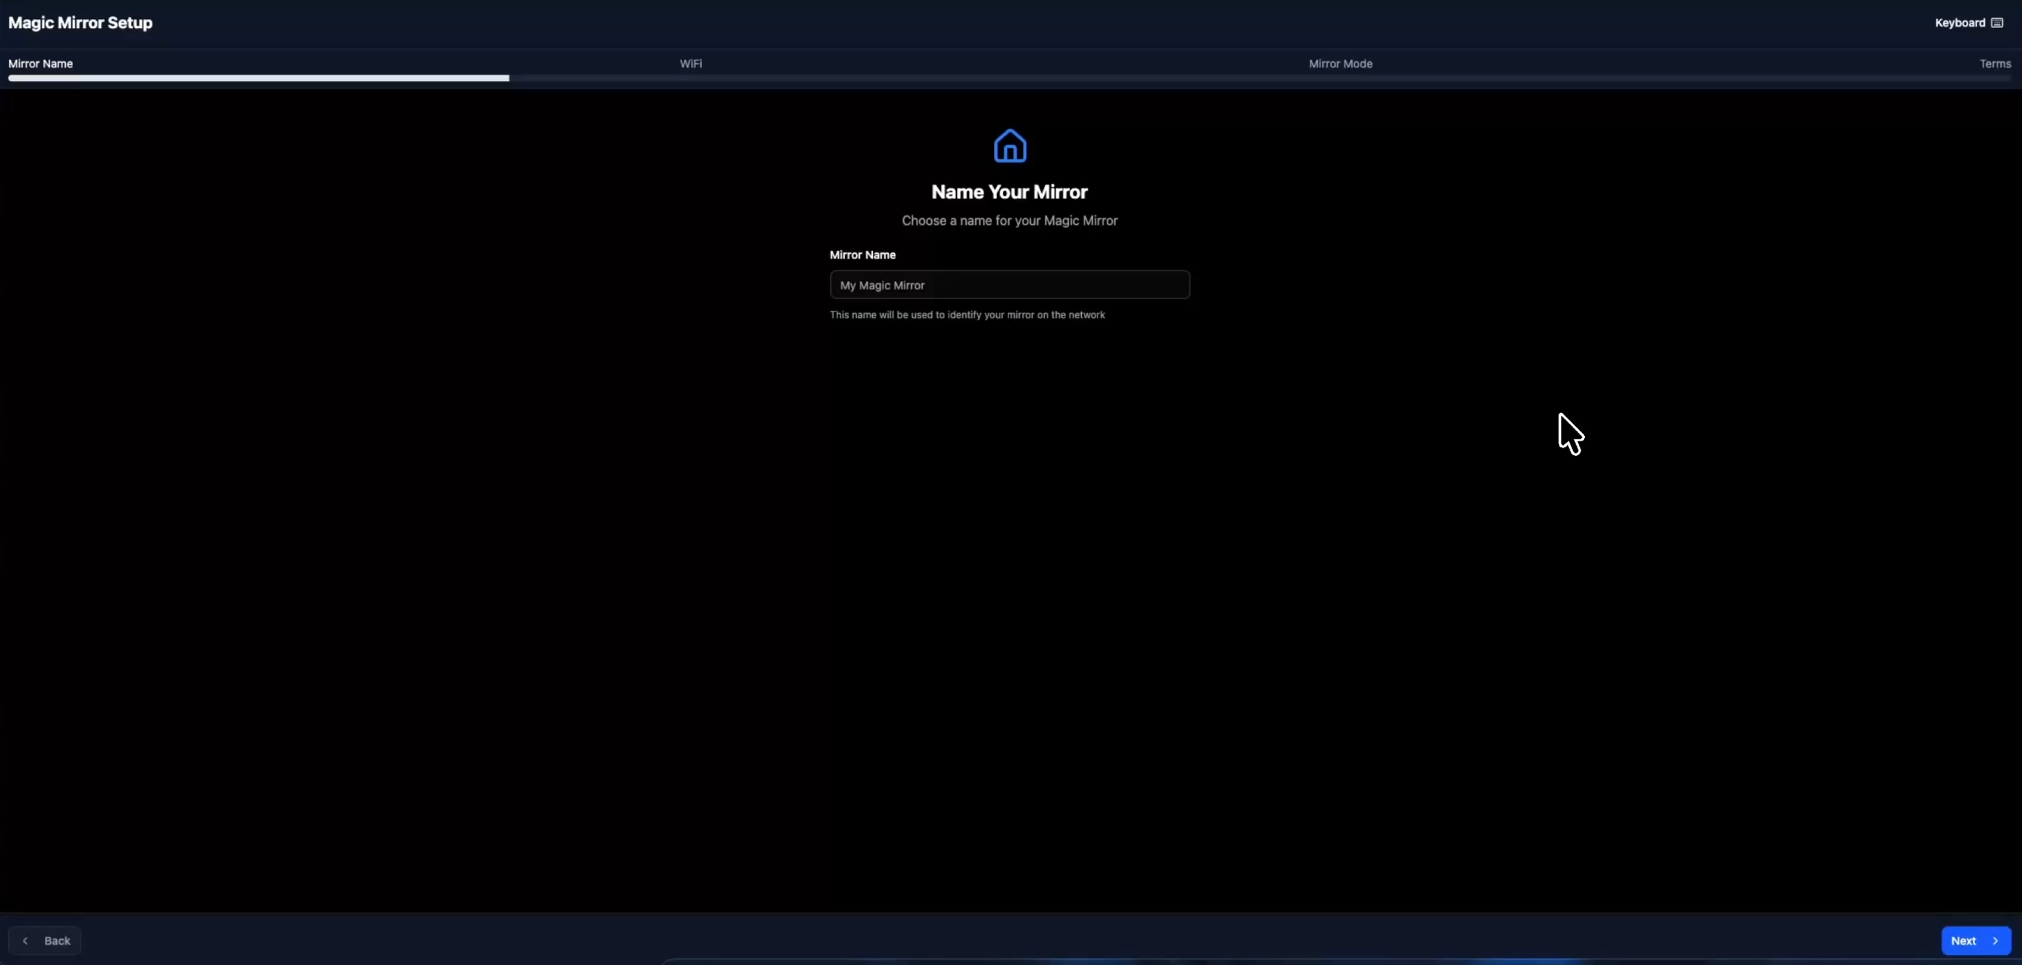
2. Device Name
- The Device Name (example name: SmartMirror) will match your network hostname for easy identification. Be carefull to use a name that is not already taken.
- Press next to continue the setup.
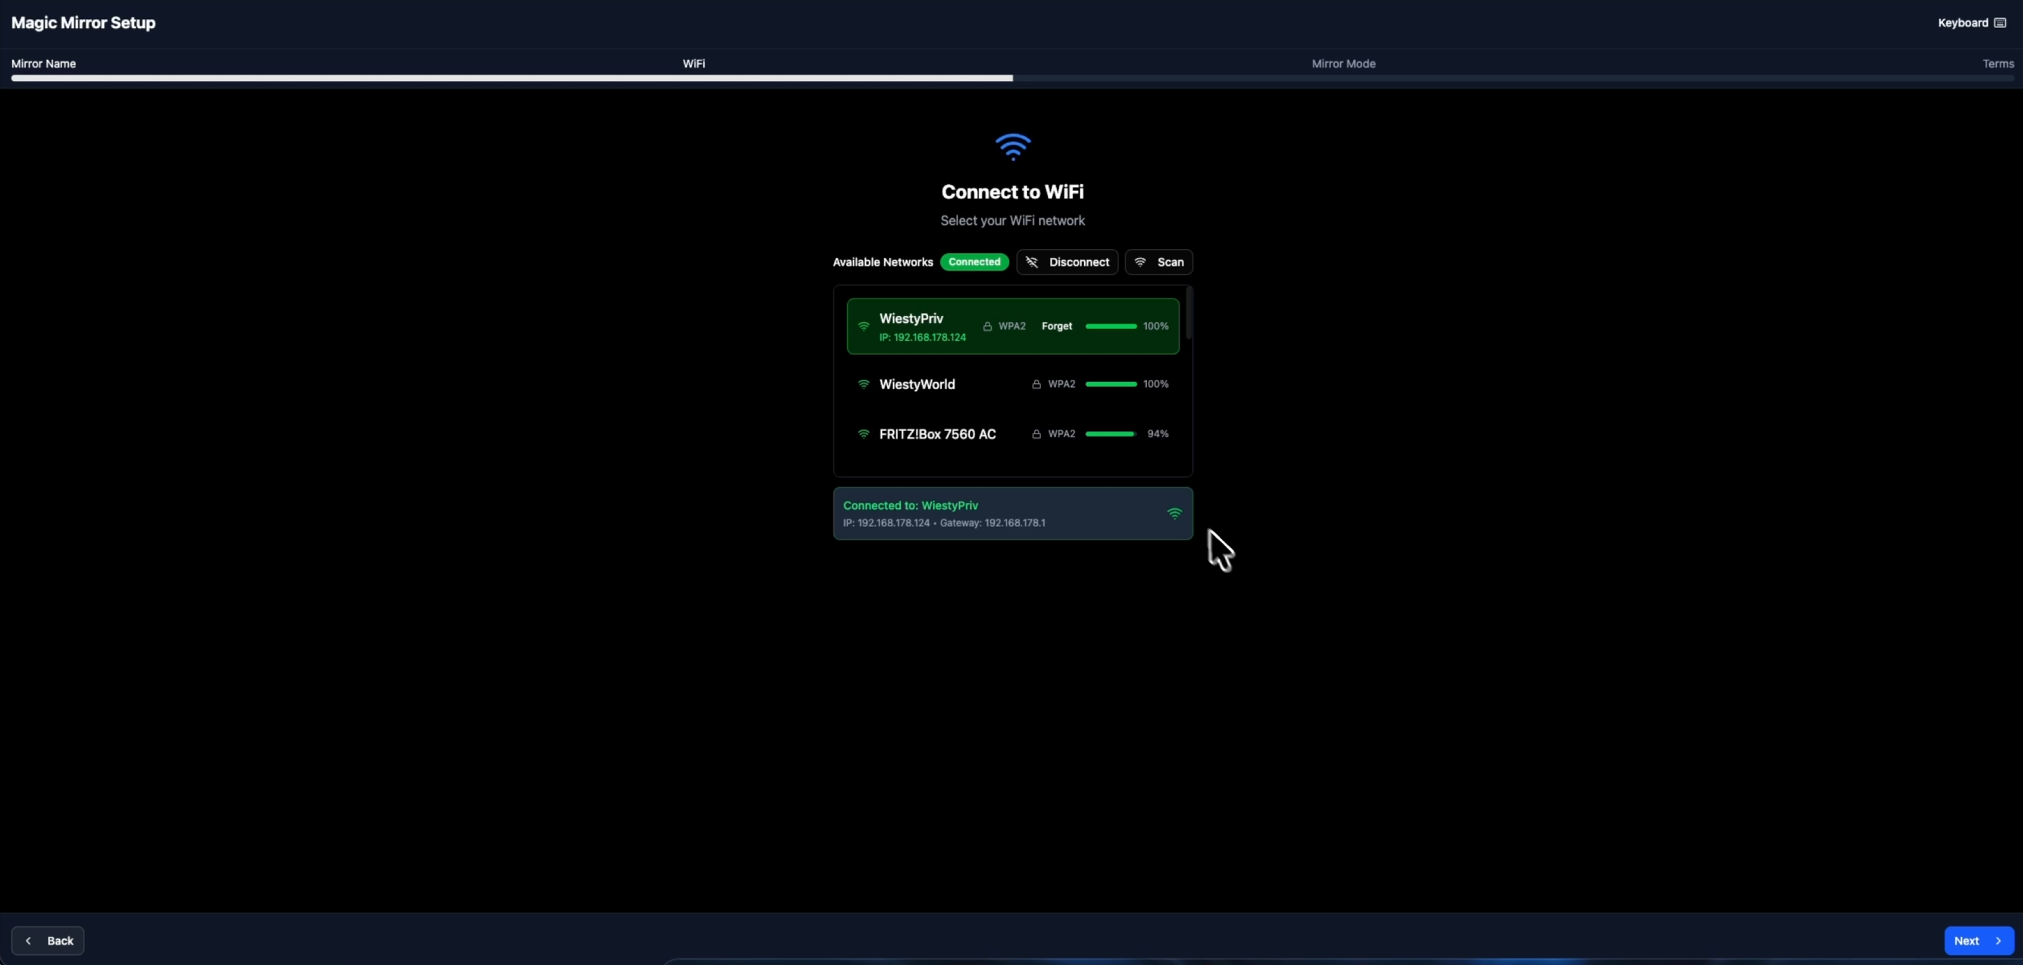
2. Connect to Wi-Fi
- The Mirror will now automaticly scan for available Wi-Fi's. Note: The Mirror supports only iot standard Wi-Fi networks without spaces in the SSID and does not support captive portals (e.g. hotel, guest, or hotspot logins with web pages).
- Select your network and enter the password.
- Once connected, the mirror displays its IP address — note this for later use. We hardly recommend to change the Mirrors IP adress to static in the Wi-Fi settings of your router.
- You can disconnect using the Disconnect button if needed.
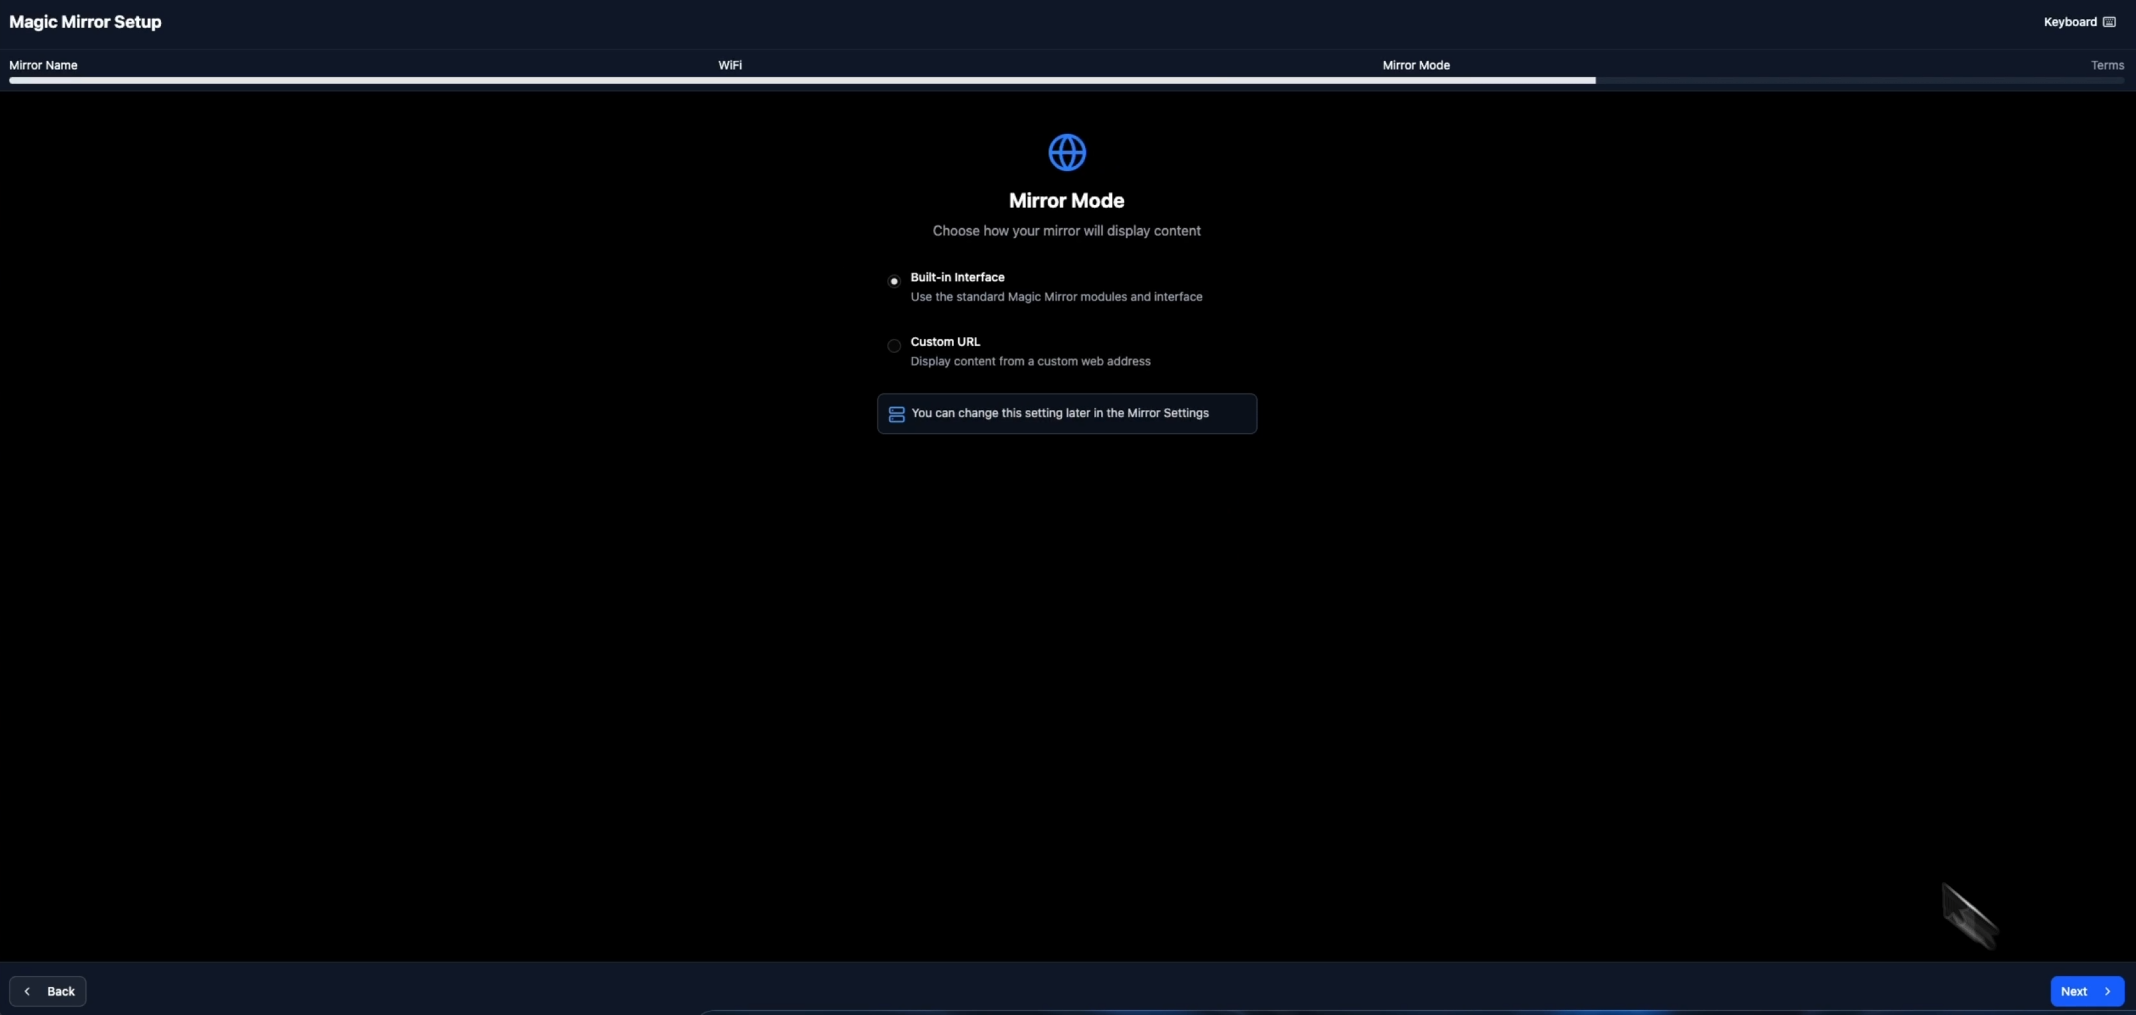
3. Mirror Mode Selection
When prompted to select a mode:
- Built-in mode → Uses the open-source MagicMirror interface (default and recommended).
- Custom URL mode → Displays a specific URL in kiosk mode.
- If using this mode, enter your URL and click Save Configuration.
4. Final Steps
- Review and accept the Terms & Conditions and Privacy Policy.
- Press Finish to complete the setup.
After completion, your Smart Mirror will boot into the selected mode automatically. Showing the right date and time on the top left corner hints that the setup has been completed. You can now proceed to the Dashboard Setup for further configuration.